About
The Lift was developed to optimize your useable living space by fully utilizing your basement or garage storage space. By working seamlessly with bike storage racks, roof racks, cargo racks and luggage racks, The Lift stores large items up in previously unused headspace.
The Lift easily attaches to the wall of your garage, basement or loft, and our patented technology raises your rack attachment to the desired level overhead. It works with all common and readily available hitch receiver attachments on the market or those that you may already own. We also offer hitch-based attachments that are designed to work with The Lift to safely store your valuable items, including the rack attachment themselves, when not in use. Because of the variety of compatible storage racks, The Lift can easily help you store bikes, kayaks, paddleboards, camping gear, push mowers and other seasonal items.
The finished product is designed to be easily assembled, installed and safely operated with no prior experience or training needed. Daily operation mirrors the ease of a simple garage door opener.


Assembly of The Lift
- Lift Motor w/Electric Brake
- 15’ Electrical Cable for 120VAC Outlet
- Trolley w/2in Hitch Receiver
- 15’ Cable for Controller w/Lockout
- Wall Mount for Controller
- 5/16in Nut Driver for Lag Bolts
- Note: Main channel is included with The Lift but packaged separately
- Select Channel Length to Match Ceiling Height
Drill or Ratchet Wrench
¾” Wrench or Socket
All Assembly Hardware Provided
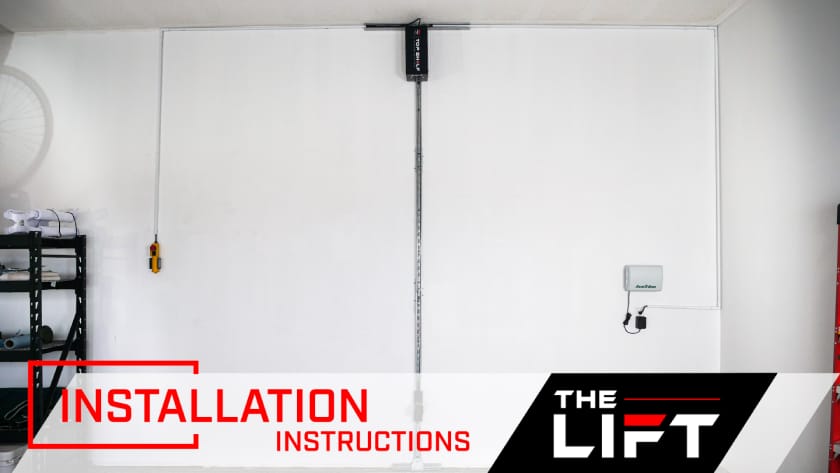
Installation of The Lift
- Consider ceiling height, electrical outlet location, size of item(s) scored and ease of access.
- Determine the total width of the rack(s) and items to be stored items and allow approximately 2ft of clearance from adjacent walls, shelves and other objects
- An open floor area below THE Lift equal to the width and depth of the rack and stored item(s) is required.
Installation Video
- Drill or Rachet
- 5/16” Nut Driver for Drill (Provided)
- Tape Measure
- Straight Edge
- Stud Finder
- Pencil
- Ladder
Hardware Provided:
- Twelve (12) – 5/16in Lag Bolts
- One (1) – 5/16in Socket Driver
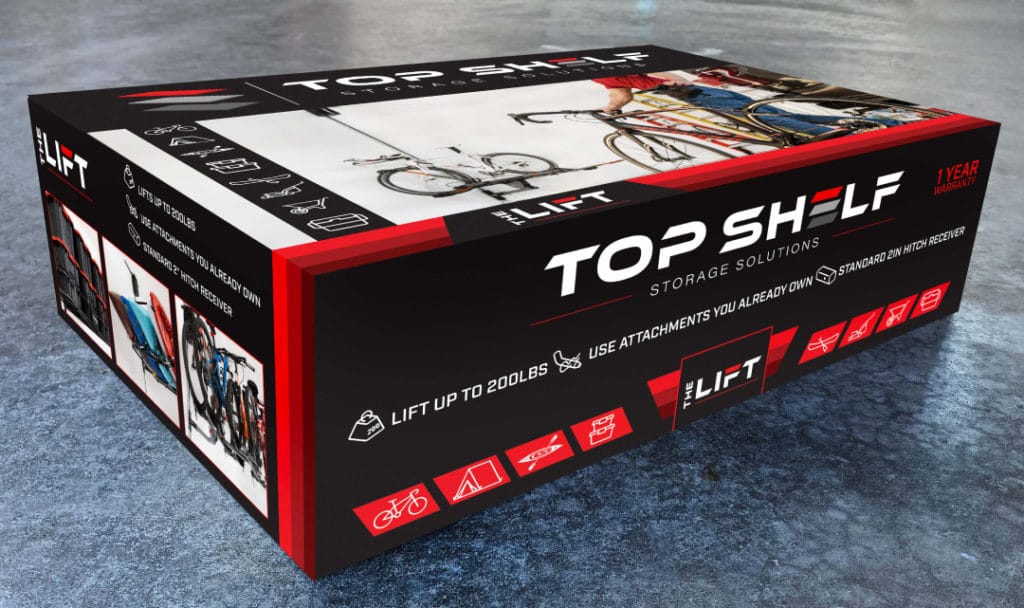
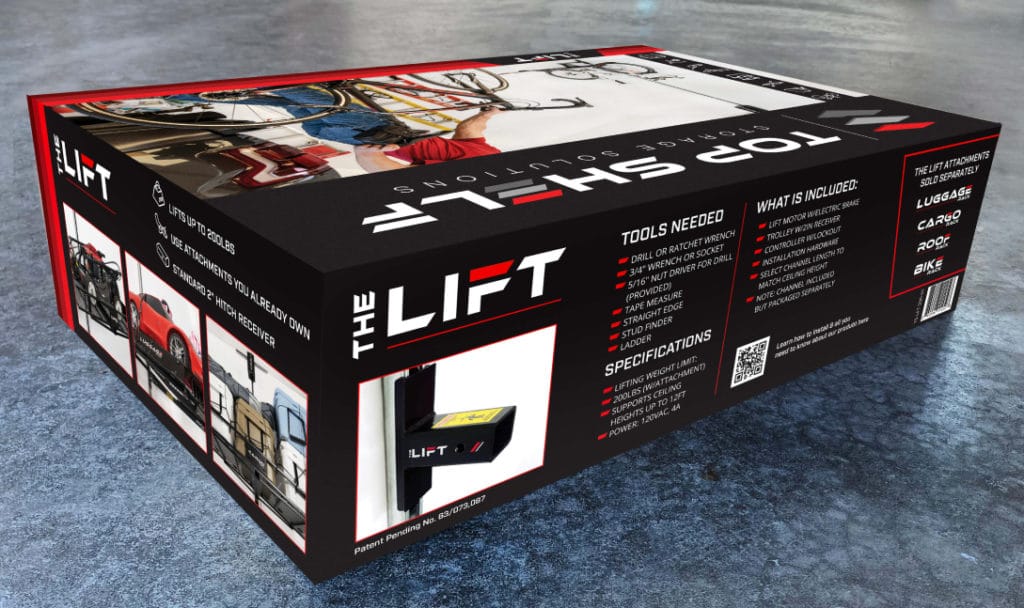
The Lift Packaging